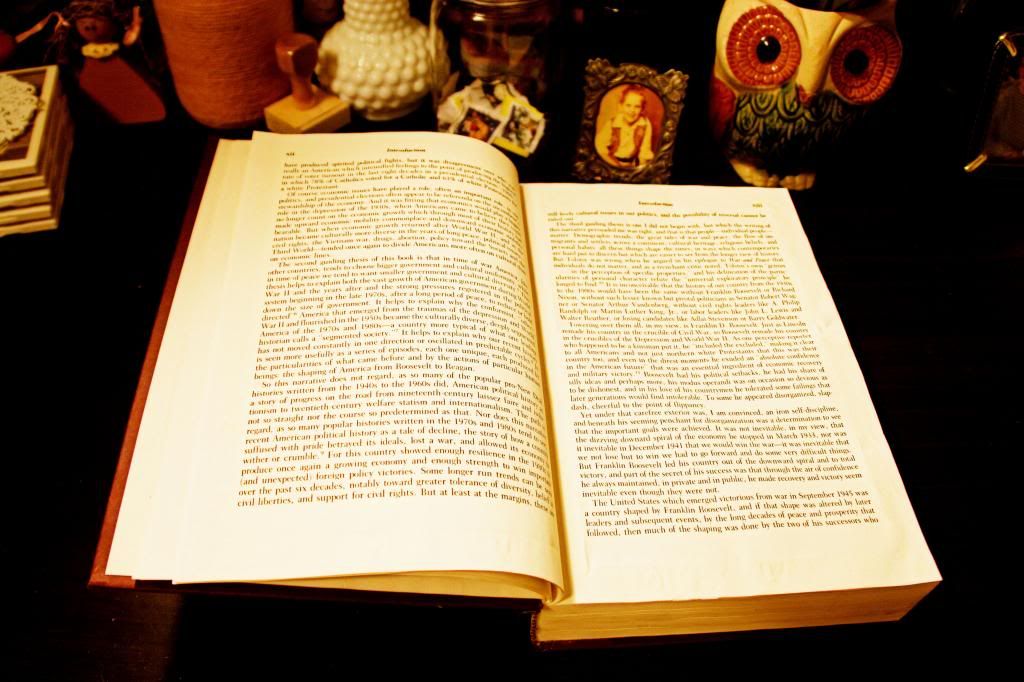
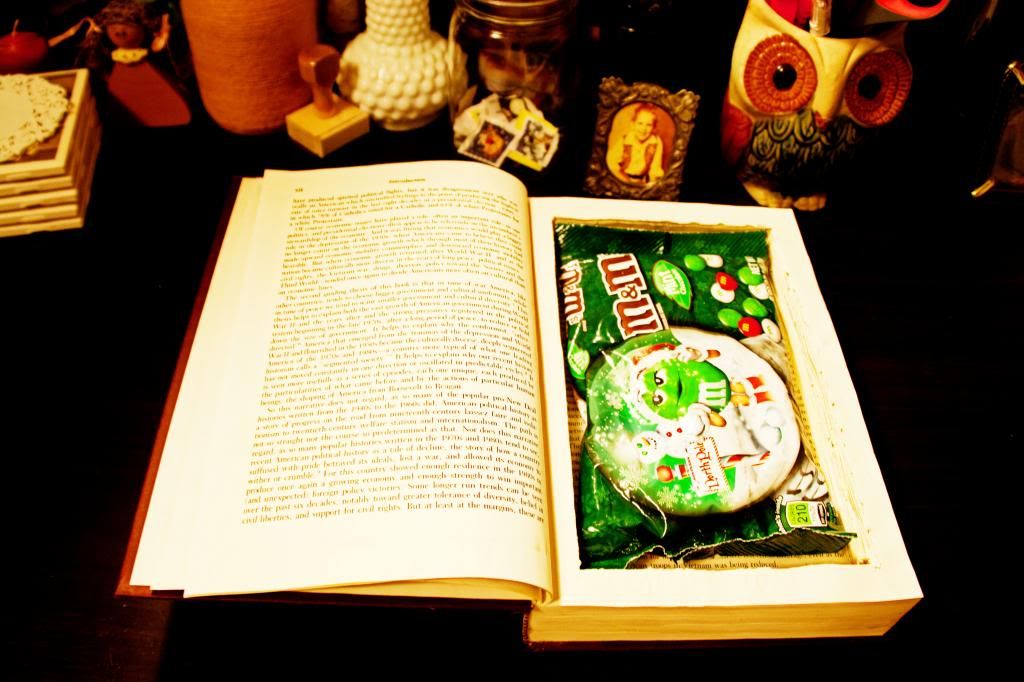
For Christmas, among other things, I made my mom a hollowed-out book. This is the fourth book I've done. Last year while I was making one my mom was saying how she wanted me to make her one. Fast forward 300+ days and I haven't forgotten!
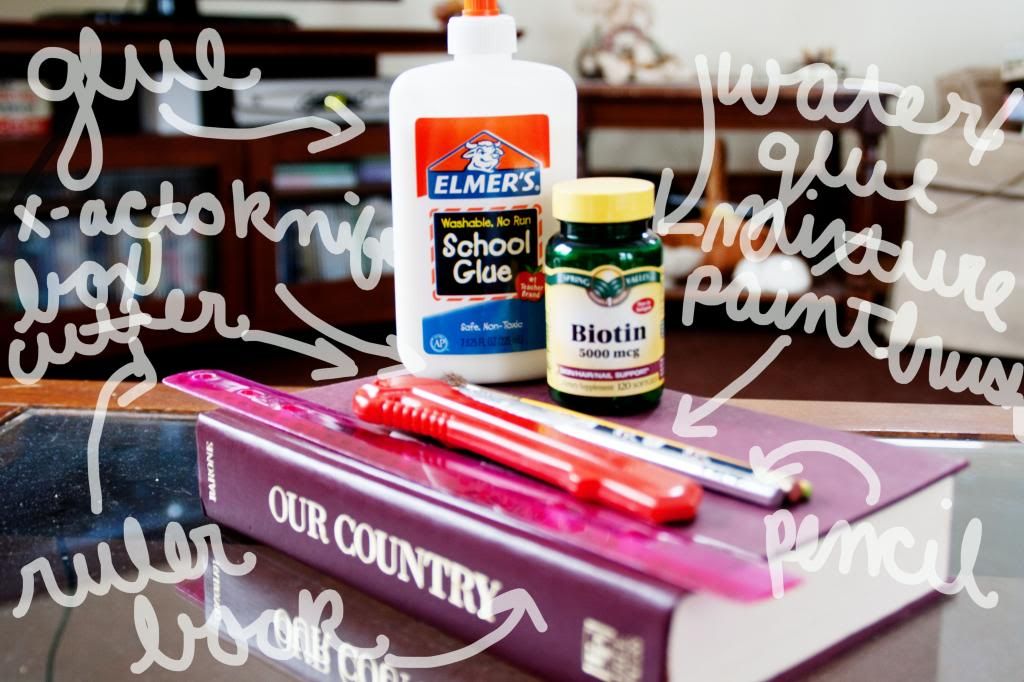
This is not a hard craft. It's just super time consuming. You can use any book you like, but I always lean towards old hardcovers because I think the look cooler and I think the cover would warp on soft cover books. I listed the supplies you need below. For the water/glue mixture you need about 70% glue and 30% water. I usually eye it but if I see that I put too much water in I dump a little out.
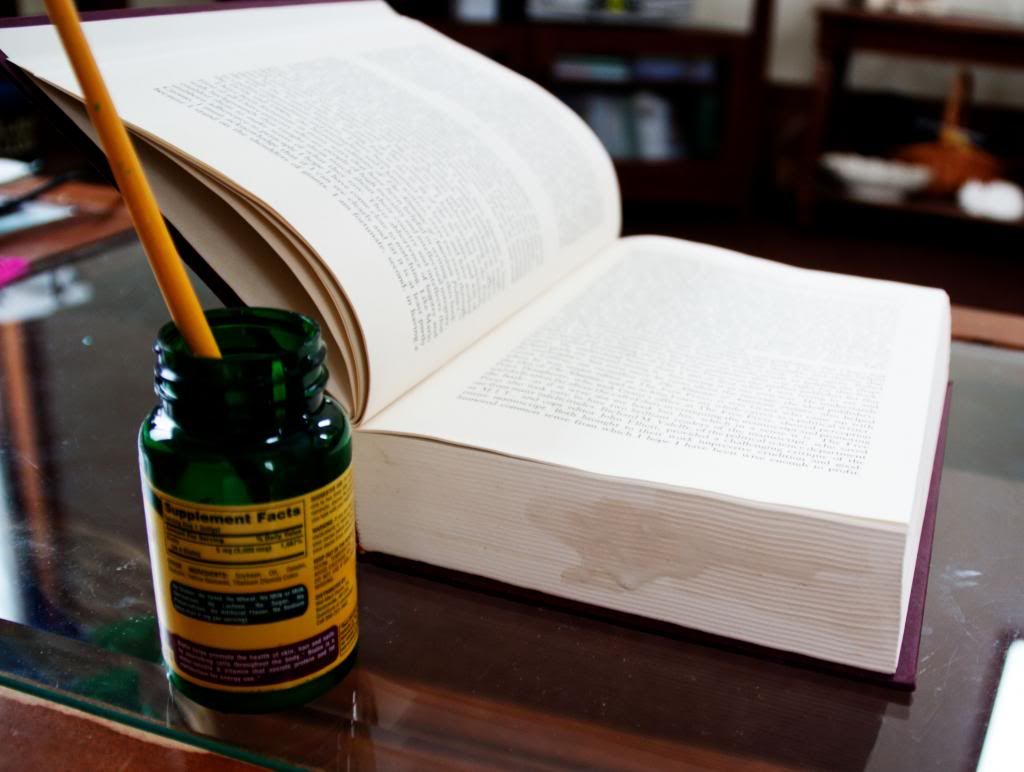
For the water/glue mixture you need about 70% glue and 30% water. I usually eye it but if I see that I put too much water in I dump a little out.
1. Select the first page you want to be your first cut out. If you want all the pages to be cut out just keep one page to the side. You'll be needing it for a later step.
2. Holding the remaining pages that you will be cutting through paint the edges with the water/glue solution. Make sure all the edges are adequately covered in glue because you want it to seep in so that the pages don't come apart while you are cutting the book.
3. I used two sticky note packs and placed them between the glued edges and the first few pages. I then placed a heavy object on top while I waited for the glue to dry. It only takes about 15-30 minutes to dry, but I had to go to work, so I let it set for hours.
4. I then decided how far in I wanted the border to go in. I wouldn't have the edge less than 1/2 inch. For my book I measured a 1/2 in. around all sides.
5. I then drew a pencil mark around all the edges. It's okay to have this pencil mark because remember you saved the front pages and one will be glued down over it later.
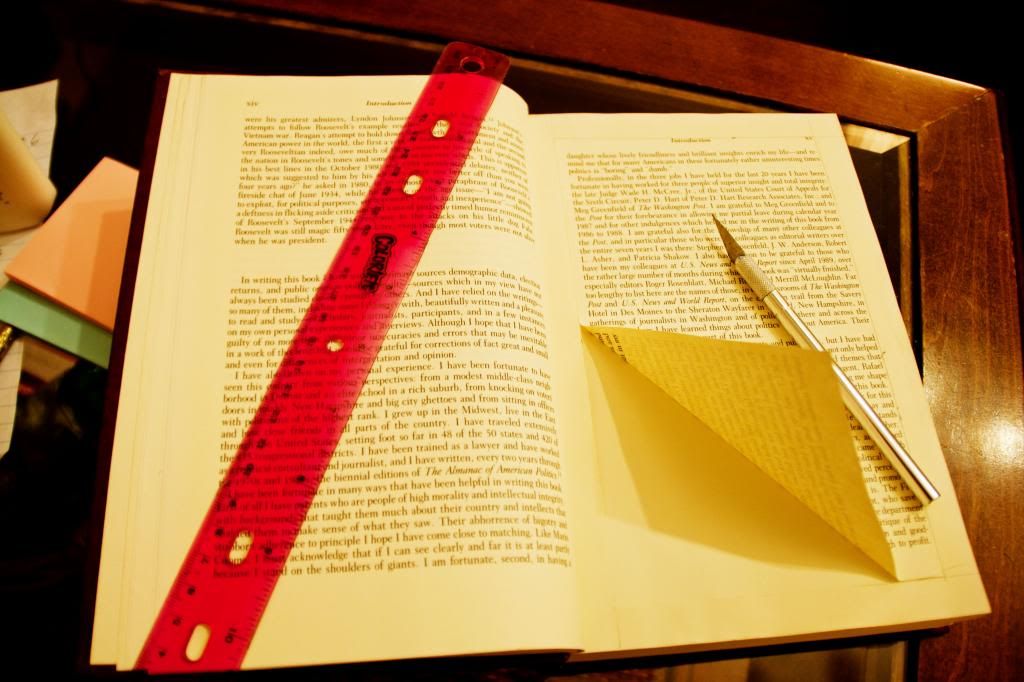
6. You can then begin cutting your pages. I use the x-acto knife for the first few pages and I also used the ruler to help keep my lines straight, but be careful because my ruler is now all ragged because I would accidentally cut the ruler instead of the pages.
When I get down a few pages I started using the box cutter because it was a lot easier. If I didn't have a time limit I may have kept going with x-acto knife because the edges may have stayed straighter, but that's life. **Cutting can take several days. I have never completed a book in one day.
Keep an eye on the corners because they tend to get built up. You may have to focus on cutting the corners down in between page cutting. This is another reason it takes so long.
The longer you spend on cutting the book the smoother and straighter your cut edges will be. Believe me, my edges are really rough, but they will flatten a bit when you glue it later.
7. When you have cut the pages as deep as you want them to go take your water/glue mixture and put it around the inside edges. I also put it on the outside again. Before you flatten it take one of the pages you saved earlier and glue it on top of the hole. Let dry for another 15-30 minutes.
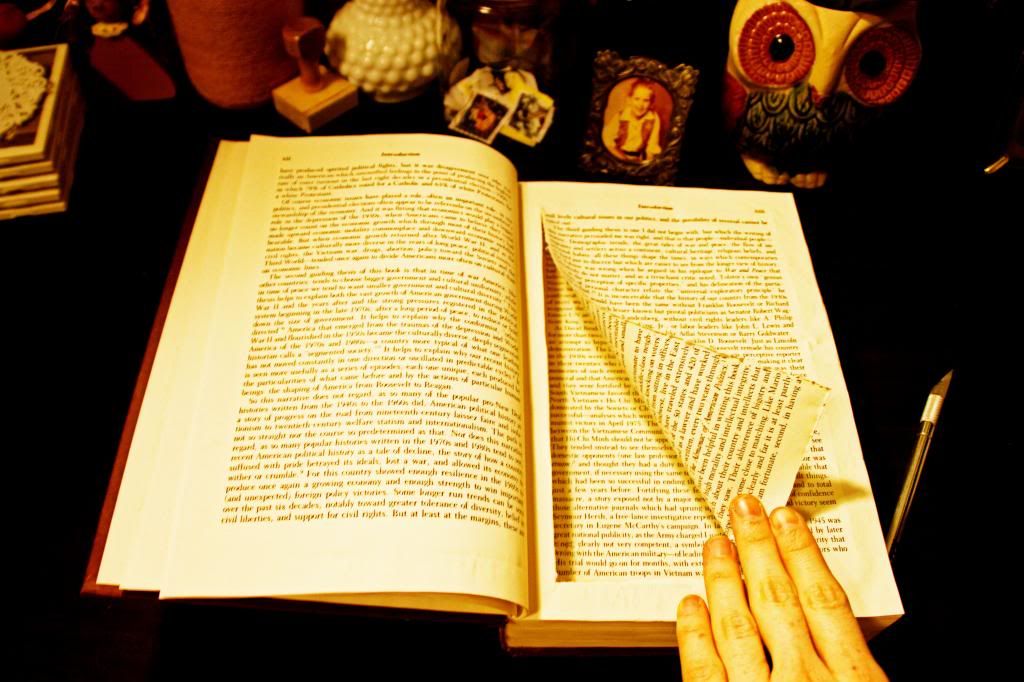
8. When it's dry very carefully cut through the first page with the knife to open it. This way it covers up any dents or cuts you may have made during the rest of the cutting.
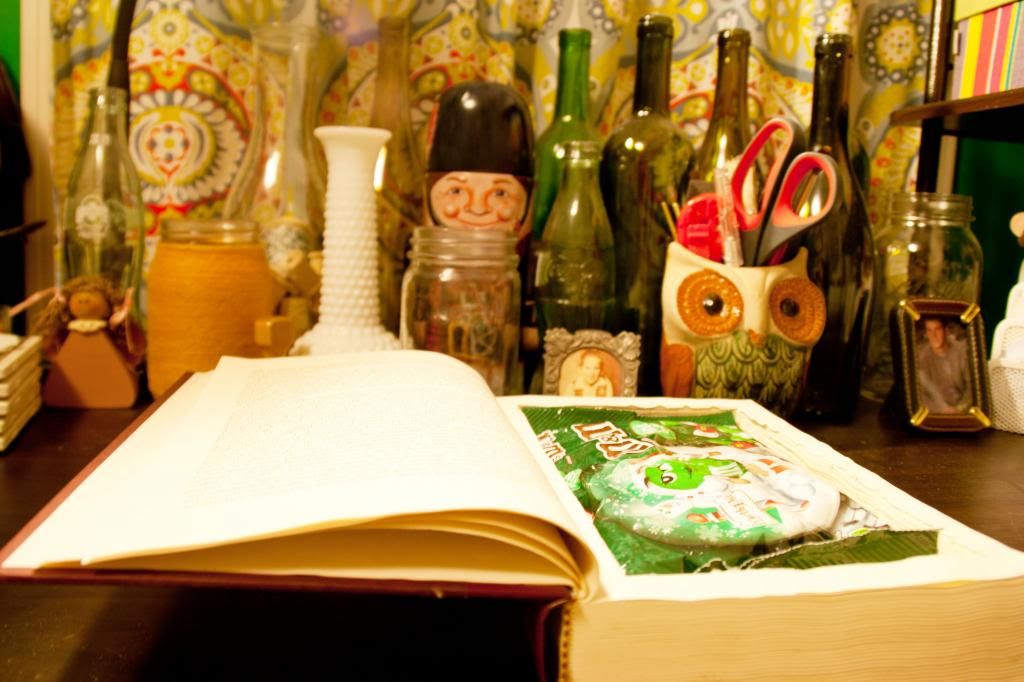
9. You may need to allow additional time for the inside to dry, but once it's done you can go ahead an fill it up!
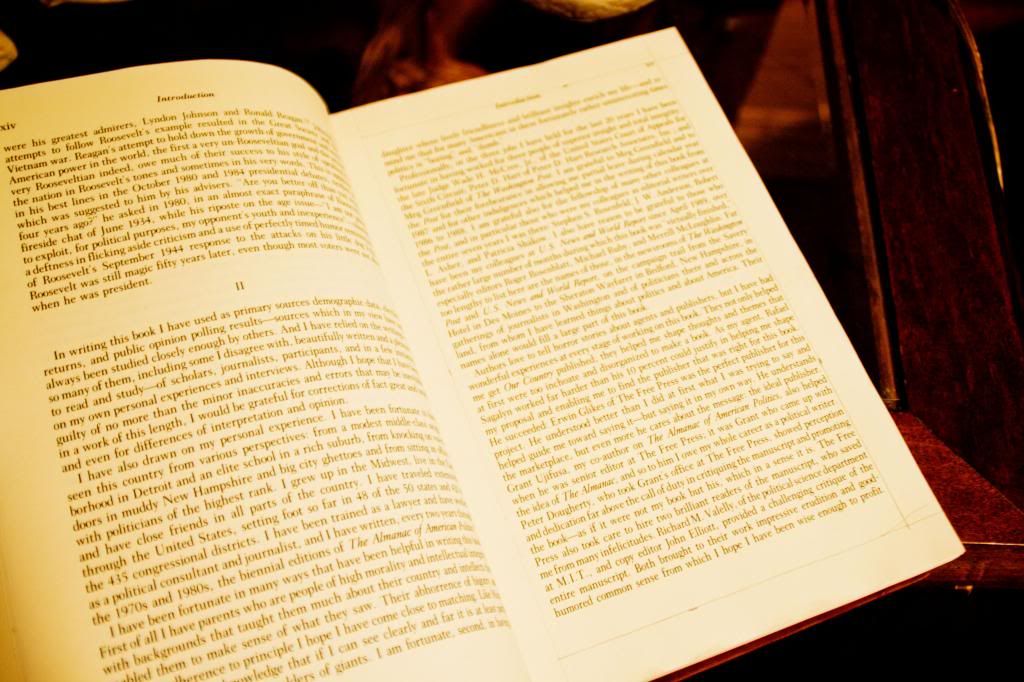
Sorry for the terrible quality of the pictures half way through. I usually prefer to use natural light because I think they make better pictures, but because I had to work and was trying to keep my mom from seeing it I had to use what I could because I would have never gotten it done in time for Christmas.






OMG! This is so cool! I saw the picture that you posted on Facebook of this and was totally intrigued. I also really like how you did the first picture with the supplies listed (what program do you use for that?)
ReplyDeleteI use a bamboo writing/drawing tablet to write, but I use it in photoshop. The tablet is like $150 online, but totally worth it if you like to draw and add stuff to pictures.
Delete